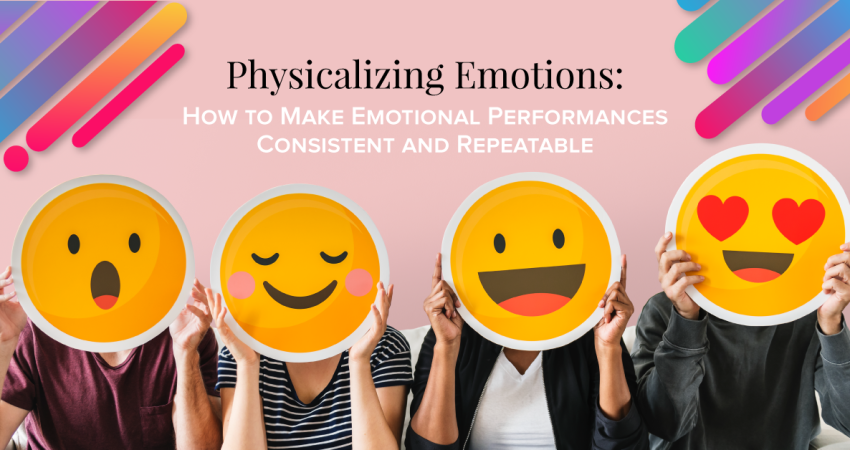
Do you want your students to show MORE of you on stage during an emotional scene? “Joshua, can you be any sadder here?” “Sannah, I think your character needs to be angrier right now.” “Lise, I need you to show more emotion right now.” You may be on the receiving end of confused looks or blank expressions after giving such directions. Your students may not know HOW to show these big emotions on stage. “More” is vague and different for everyone. What your students think is more, may not be “enough” for the scene.
Some actors use a technique where they think of their own experiences to inform their character’s emotional reactions and achieve a similar performance. In other words, they think of a time when they felt a heightened emotion (sad, angry, excited, etc.) and use that feeling to drive their performance. For example, if they are portraying a character who is feeling broken, they might think back to a time when they themselves were rejected by a crush.
This technique can be effective but difficult for young or inexperienced students to use. Some students may not have the applicable life experiences. Other students may find delving into their past experiences upsetting or even traumatic. Having to bring up those feelings every time he acts out the scene can build up stress and blur the lines between student and character. It can also lead to inconsistent performance. One day, your student might feel great and his performance will go well. On a different day, when the student is feeling more stressed than normal, having to bring up an emotionally challenging situation from their real life will only add to that stress. The performance might be heightened, or weaker, or agitated, and the student will have to deal with even more disturbing feelings when he leaves the room at the end of the class or rehearsal.
Try this technique with your students. Instead of relying on personal experiences, give students detailed and precise facial or body movements and gestures to physicalize the emotion they are trying to portray. This can help you make student performance more consistent and repeatable while avoiding causing stress or trauma. Physicalizing emotions allows you to demonstrate specifically what you want your student to do while verbally describing what you are doing and why.
Consider the following facial and body movements and how you can use them to show different emotional states:
- Breathing (fast, slow, gurgled, deep, shallow, held, through mouth or nose)
- Posture (bent over, straight, bent towards or away from someone else)
- Gaze direction and intensity (toward or away from scene partner, fixed, unfocused gaze, round eyes)
- Proximity to scene partner (close, far, moving)
- Body tension (tight or relaxed body parts, such as teeth or fists)
- Movement speed (fast, slow, varied)
- Additional movements and gestures, such as eye blinking, limb movement/wagging, hair tossing, shrugging, head nodding or head shaking, mouth movements and sounds (yawning, tongue clicking, pursing or licking lips, coughing) or finger pointing
When giving instruction to your students, try to provide actionable physical instructions for the students to perform. In anger, students might clench their jaws and bar their teeth, or they might turn away from their scene partner, quickly turn back, and stare. Movements and gestures will vary from character to character and depend on what is happening in the scene. Going back to the instructions in the introduction, your more specific, physical directions might go something like this:
- Instead of “Joshua, can you be sadder here?” you could say “Joshua, try to slow your breathing, drop your shoulders, and look away from Patricia.”
- Instead of “Sannah, I think your character needs to be angrier right now,” you could say “Sannah, when you say the line, move your face directly in front of Britton’s face, stare at him, and clench your jaw and fists .” (Make sure Sannah and Britton agree to be in close proximity to each other.)
- Instead of “Lise, I need you to show more emotion right now,” you could say, “Lise, after Terry says his line, try to open your eyes wide, gasp, and then quickly cover your mouth with your hands.”
Physical cues are clearer and more understandable than “Be more (sad, angry, excited, etc.)” and easier for your students to follow, both in the moment and in repeated performances of the scene. They also don’t depend on students delving into their past experiences to portray the emotions needed for the scene. As an added bonus, students find it easy to make specific instructions note in their scriptures.
Don’t worry about students’ performances seeming artificial or exaggerated (some people call this “hamming” or “mugging”) while trying this technique. At this point, we want our students to visibly display consistent physical gestures. You can adjust the movements as they practice them so they feel more natural. As students gain more experience, they will also come up with appropriate physical directions on their own, which is always great to see!
Additional resources:
Click here for a free tip sheet and student exercise.
Kerry Hishon is a director, actor, writer and stage fighter from London, Ontario, Canada. She blogs at www.kerryhishon.com.
Want to learn more about our newest pieces, resources, and giveaways?
Get on our list!

